
How to DIY your own cushion compact using products you already have
Cushion compacts are currently the cutting edge in base makeup innovation. They’re the more mobile version of the double-letter cream due to their mirrored cases and convenient sponge applicator. They also have the skincare part all figured out with moisturizing, pore-refining and even anti-aging ingredients. Finally, they have a lightweight formula that feels comfy even in humid weather!
It may all sound complex, but it's actually easy to make your own bespoke cushion compact blend. You get to decide how much coverage you get, the skincare benefits you want, and most importantly, match the shade to your skin tone. You don't even have to buy anything new since you could just use a few products you already have on hand! Here's how.

For this project, you will need:
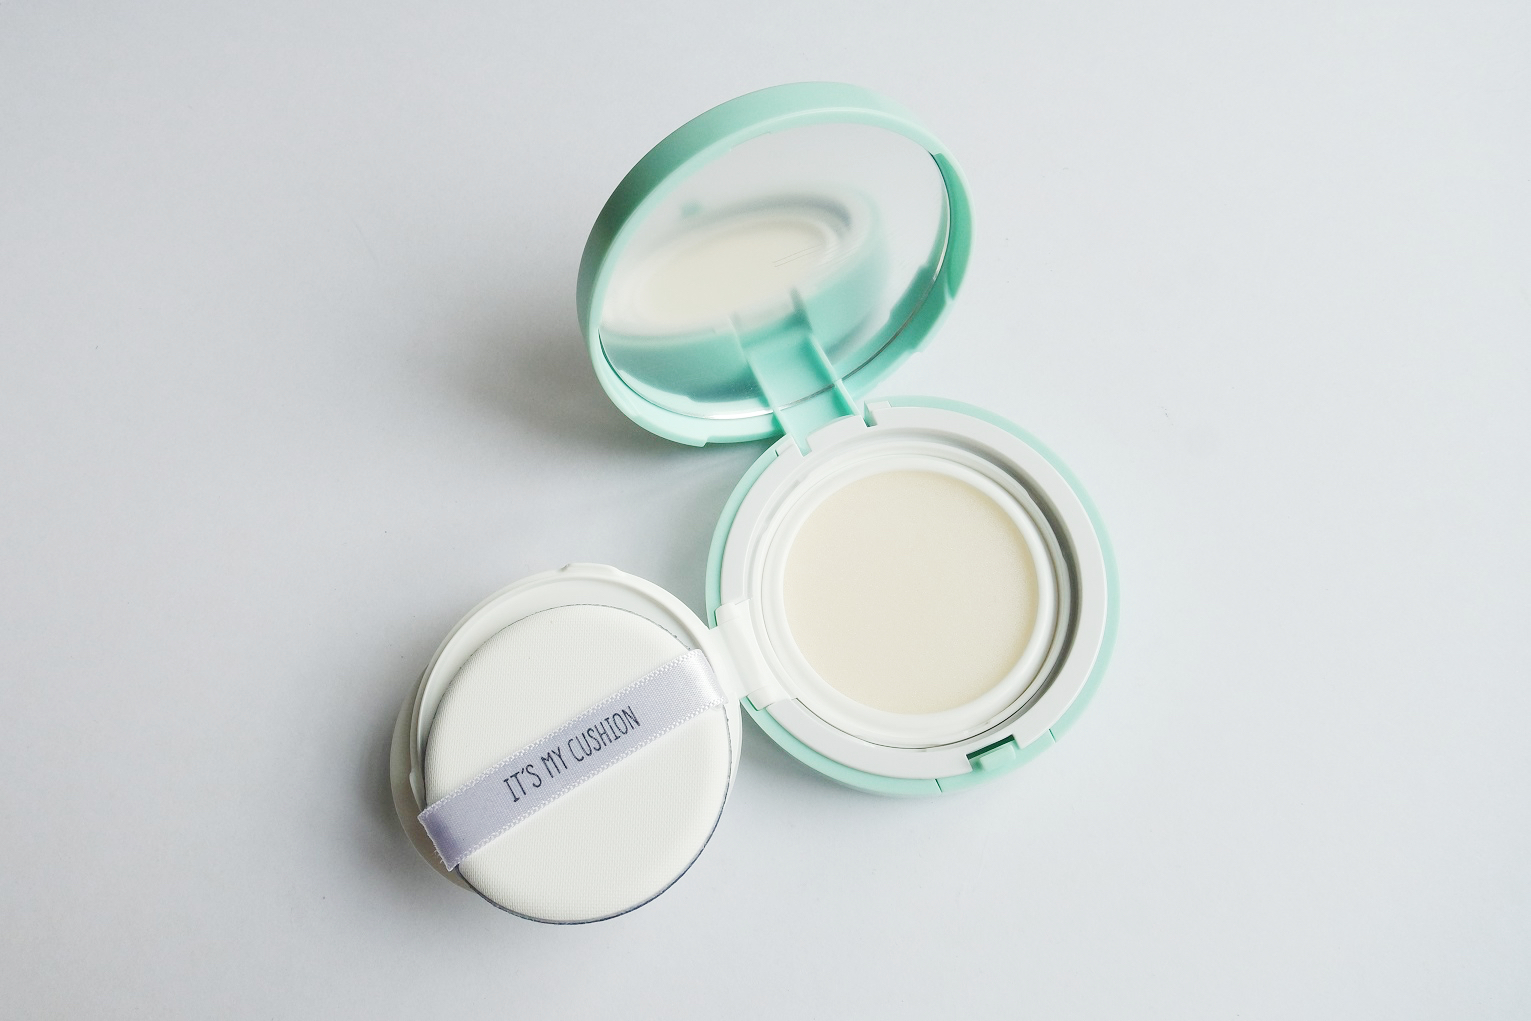
Empty cushion compact case - If you have an old, empty one sitting at home, don’t toss it just yet! Just give it a good soak and rinse before you re-use it. Take out the sponge in the compact as well as the applicator. Was both until all traces of makeup is gone, soak it in dishwashing fluid and water (1:1 ratio is good) for a few hours, then do a final rinse. If you don't want to deal with the hassle though, Althea Korea sells empty cushion cases. We got ours for just P235 including the applicator but you can also buy it separately.
BB cream and/or foundation - Choose a thick, full coverage formula so that you can gradually thin it out with the other liquids. You’ll have more control of the coverage that way! This is also a good opportunity to use up shade match fails; I had one that was slightly lighter and another that was slightly darker so I mixed them together. Otherwise, use one that’s in your exact shade.
Liquid SPF (optional) - If you want to simplify your routine even more, you can add some SPF in the formula. Do note that it may not be enough for full sun protection! If you want to create a tinted SPF product then you can use your liquid as the base instead of foundation.
Liquid illuminator (optional) – If you like that dewy K-beauty glow, this is a must! Go for something with with fine shimmer instead of spackly glitters.
Face oil – You can also use a serum or an ampoule as long as it’s oil-based, otherwise you may have trouble getting the final product to combine. If you're using water-based foundations though, you can go for a water-based skincare product such as gel moisturizers or serum.
Small bowl – Please make sure it's disinfected!
Plastic spoon or spatula – Also disinfect these before using.
Note: Take the steps below as a guide to formulating your own cushion formula. It’s not an exact recipe as proportions will vary depending on the products you use and the effect you want to create. We recommend starting with a small amount and testing your proportions before whipping up a big batch to fill your cushion.

Step 1: Pump BB cream and/or foundation into the clean bowl. Start with the thickest consistency and add thinner ingredients as you go along. The BB cream/foundation will also serve as your base ingredient. One tablespoon is roughly 15ml, and an average cushion compact would have that much liquid in it. I think it could hold more though, say up to 20ml. It's safe to go with a tablespoon's worth of BB cream/foundation before to start with.
You may add SPF at this point.
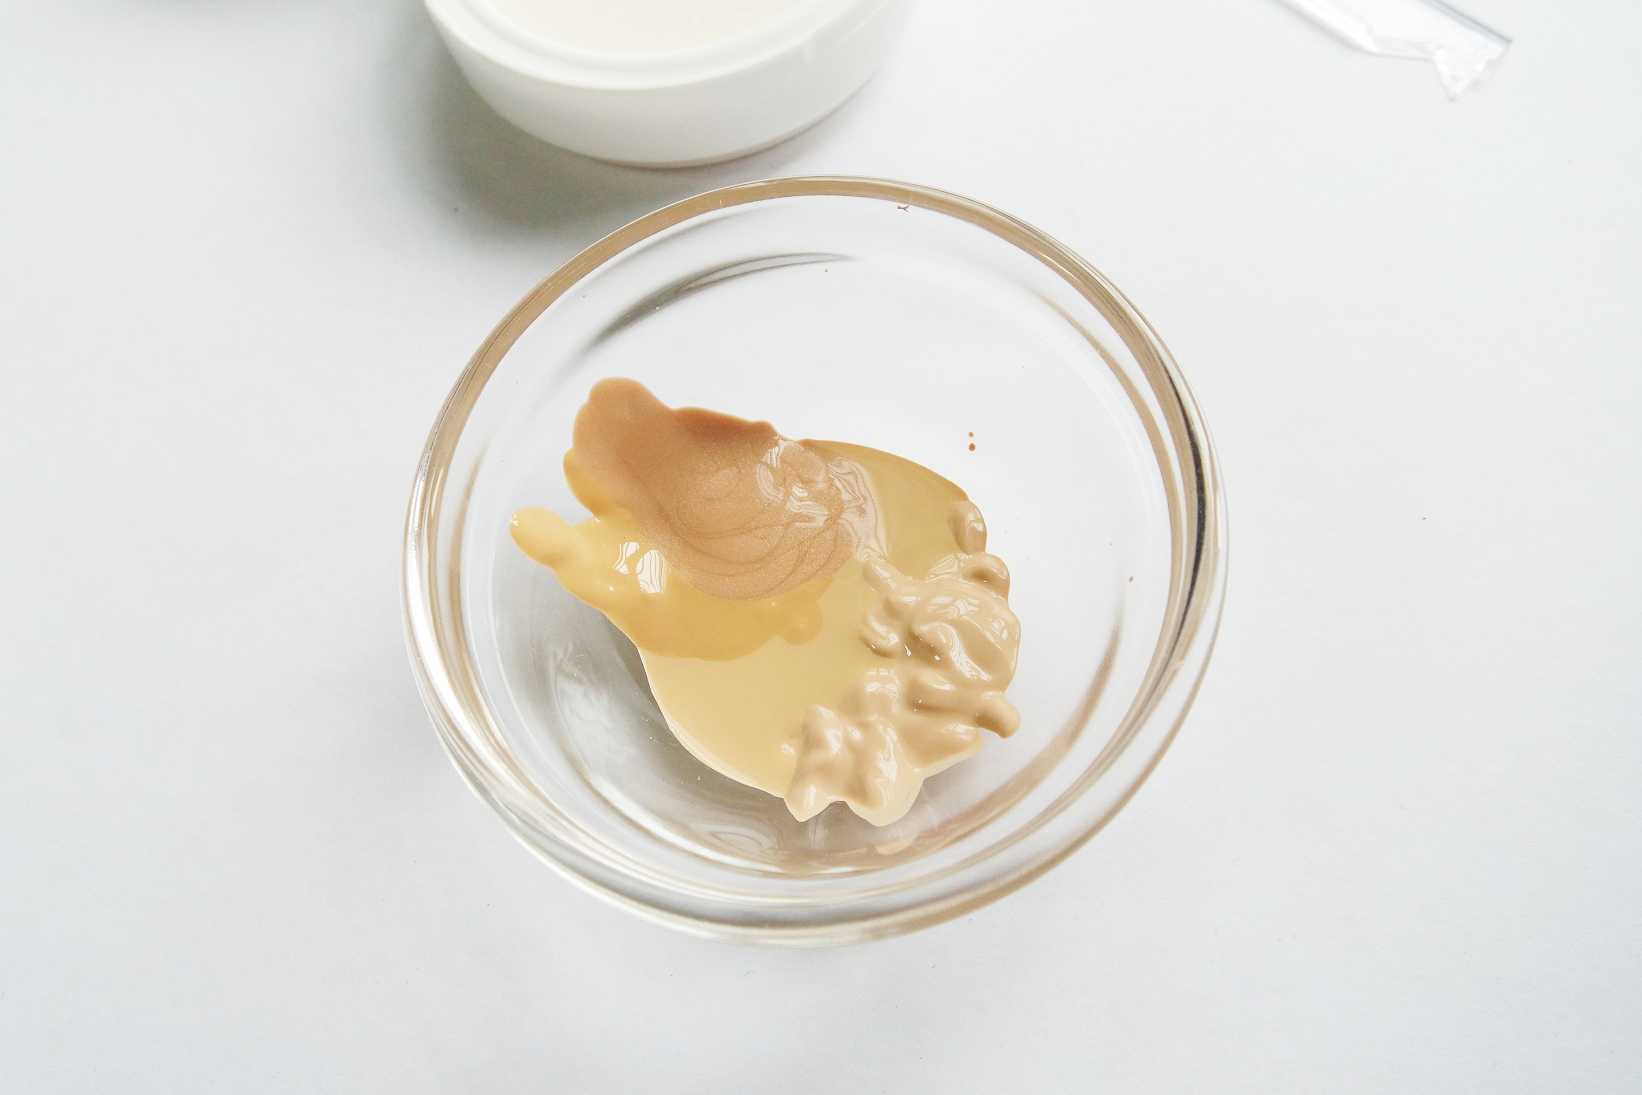
Step 2: Add the illuminator. If you prefer a dewy glow, add about ¼ or ⅓ of the total amount of product in the bowl. You may also skip this step if you prefer a more matte finish.
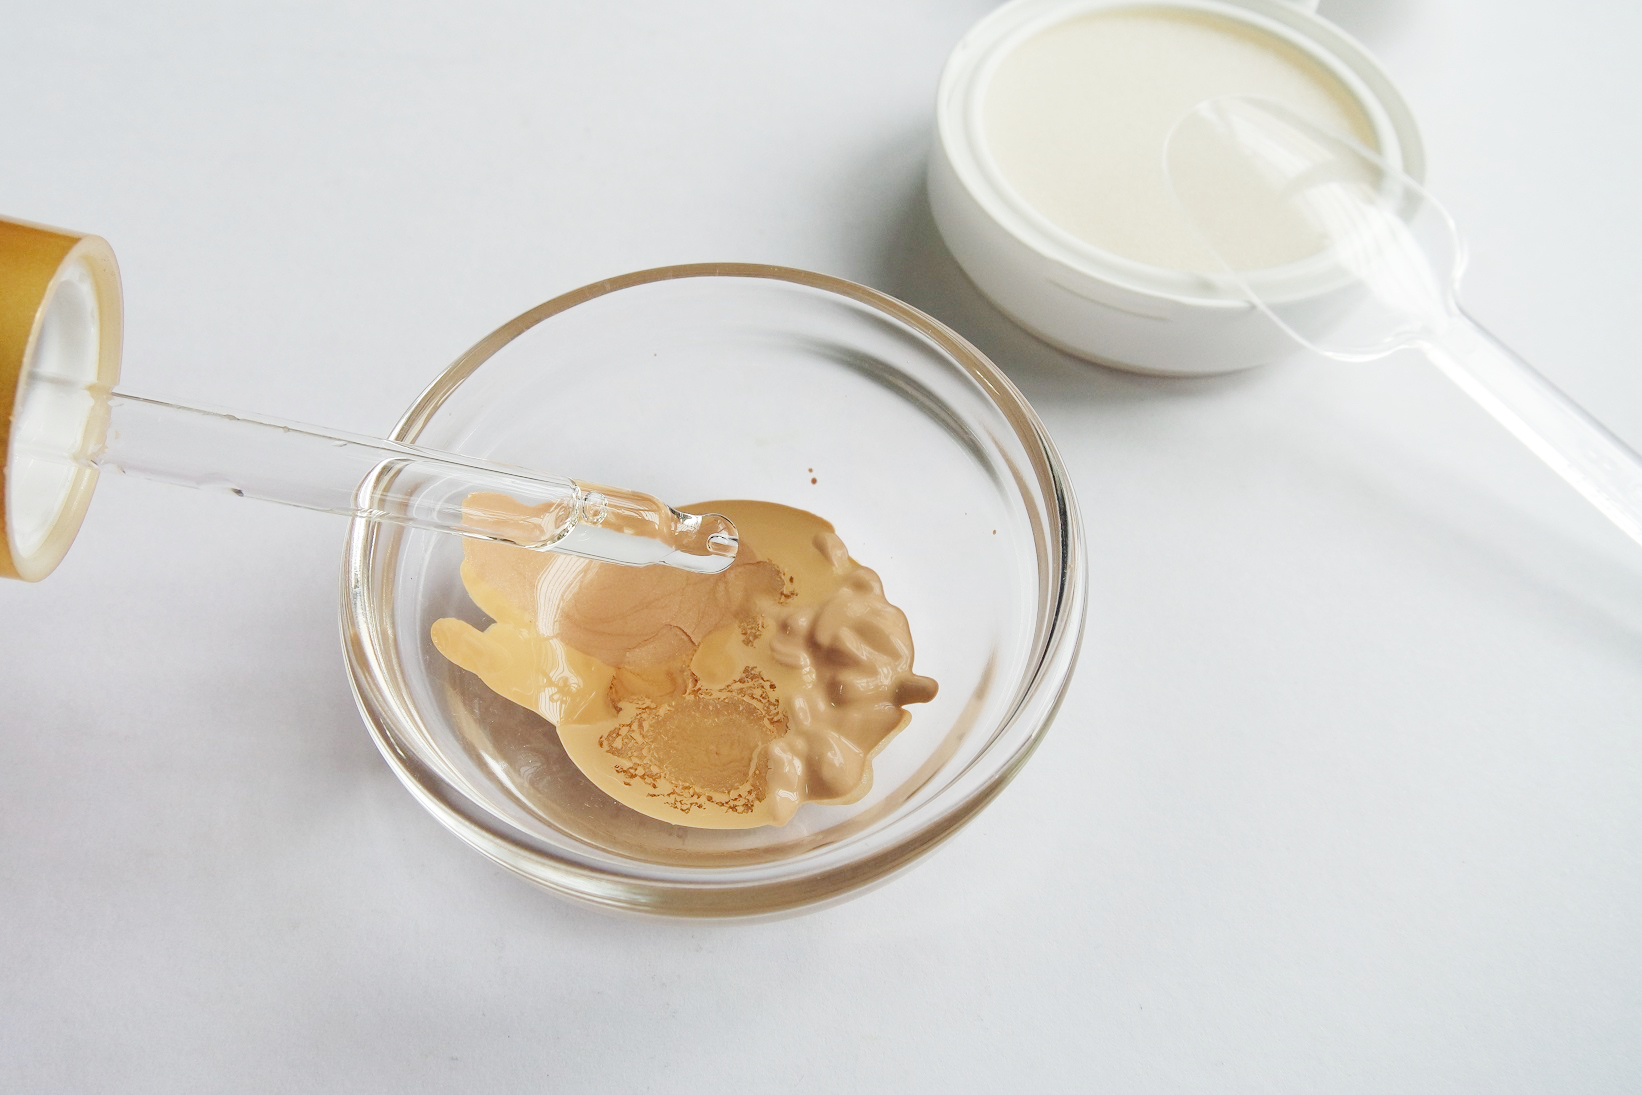
Step 3: Drop in some face oil. The oil (or gel) significantly thins the formula out and adds additional skincare properties, but don’t go overboard! One to two drops is enough because just a little bit of this stuff already goes a long way. Start with a single drop and mix it in well before adding the second drop, so you avoid making your cushion too runny and greasy.
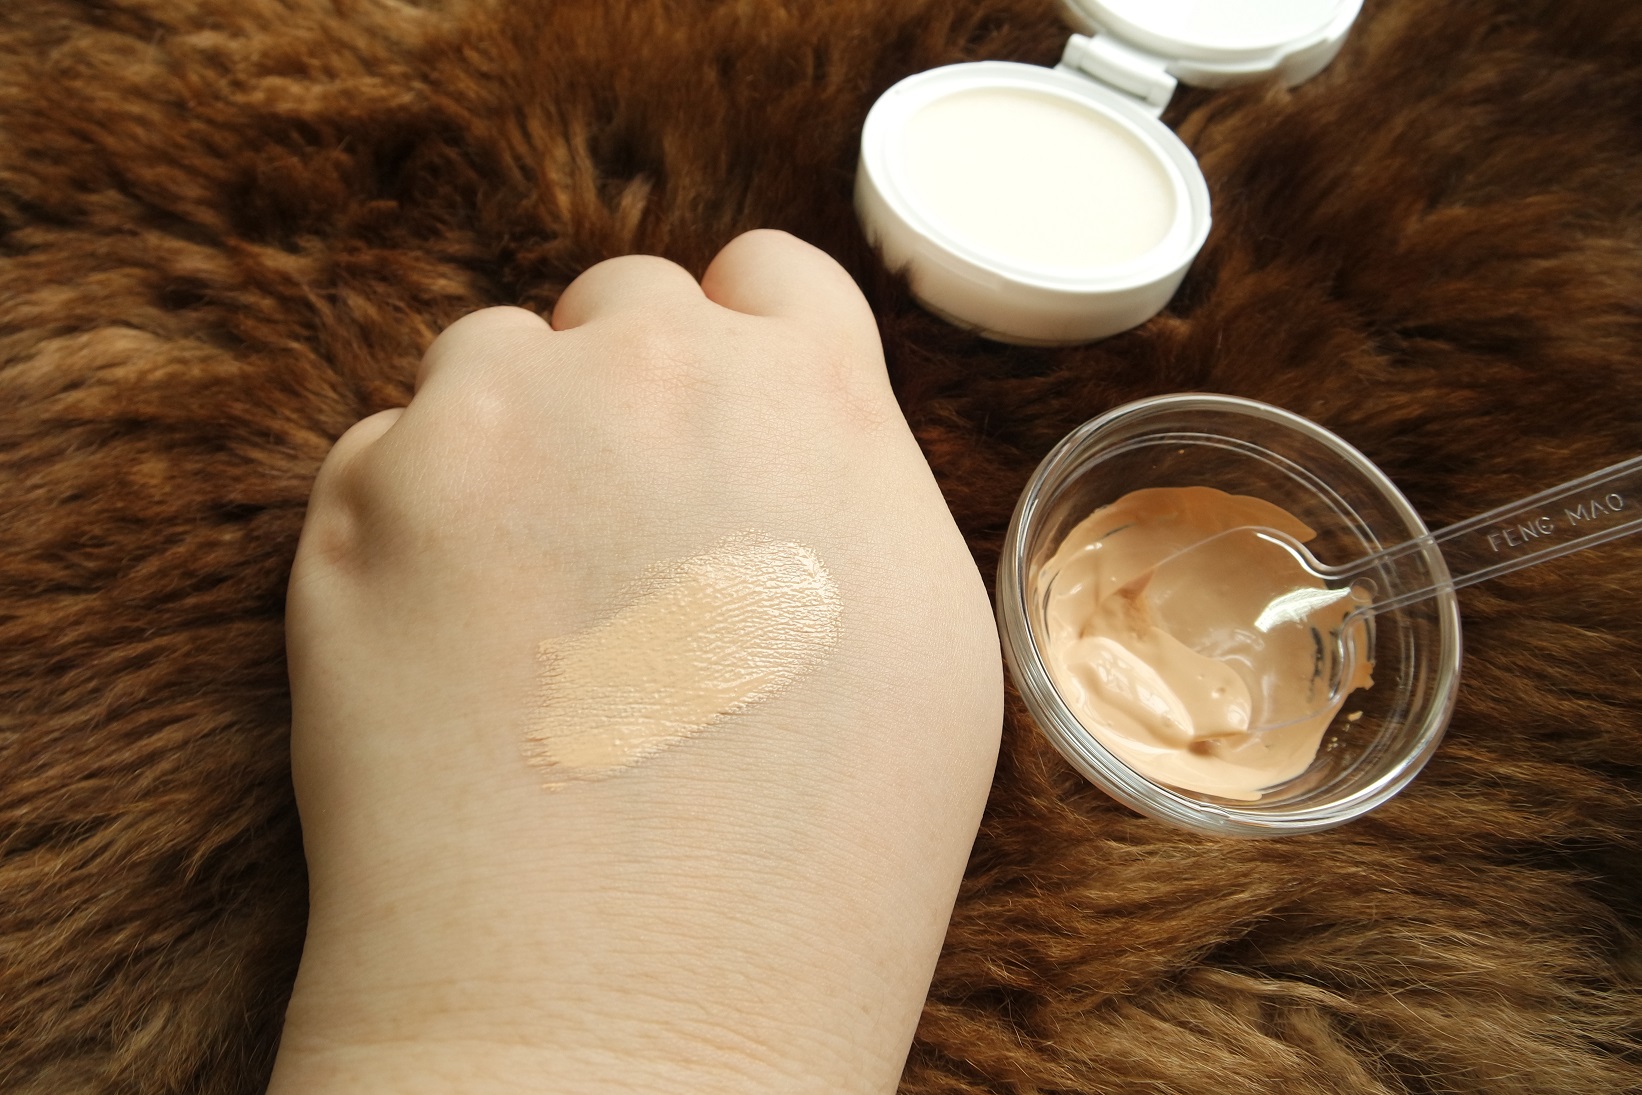
Step 4: Swatch and test. Use the back of your hand to test consistency and your jawline to test color compatibility.

Step 5: Make adjustments where needed. Mine came out lighter than what I wanted, so I added a pump of darker foundation. You can also adjust the amounts of other ingredients, making sure to swatch and test after each addition.

Step 6: Pour the mixture into the bottom of your cushion case, then place the sponge on top. To get the product to permeate the sponge, press down on it with clean fingers or use your spatula or spoon. And voila!

My concoction has sheer to medium buildable coverage. It takes two to three layers to get rid of redness and fade out dark spots. Longevity is average at about four hours before I had to touch up my nose and chin, but I don’t mind since the compact is so easy to bring everywhere I go. In the photo below, I did half my face using the DIY Cushion. You can see it on your left.

Left is with my DIY cushion foundation, right is without
Awesome, right? I like how it makes my face brighter and more lifted, not to mention the additional care it gives my skin. I definitely recommend trying this out but if you prefer to just purchase a ready-made one, check out our list of great cushion foundation finds!
Discuss:
- Do you use cushion makeup?
- What features would you want to include if you could customize your own cushion compact?